How to Create Stunning Eggshell Stickers for Your DIY Projects
In the world of DIY crafts, the unique aesthetic of Eggshell Stickers has captivated hobbyists and artisans alike. Renowned expert in the field, Dr. Emily Carter, emphasizes their transformative power in creative projects, stating, "Eggshell Stickers add a layer of sophistication and a touch of whimsy to any design." The delicate fragility of eggshells, combined with innovative crafting techniques, allows enthusiasts to create stunning decorative pieces that stand out.
Eggshell Stickers are not just a trend; they represent a blend of sustainability and artistry, promoting the use of natural materials in creative expressions. By learning how to incorporate these stickers into your DIY projects, you open up a realm of possibilities that can elevate your creations and inspire others. From home decor to personalized gifts, the versatility of Eggshell Stickers can enhance your artistic endeavors.
Join us as we explore the enchanting world of Eggshell Stickers and uncover the techniques to create beautiful, customized pieces that reflect your personal style and creativity. Whether you're a seasoned crafter or just starting, this guide will provide you with the insights needed to harness the full potential of this unique medium.
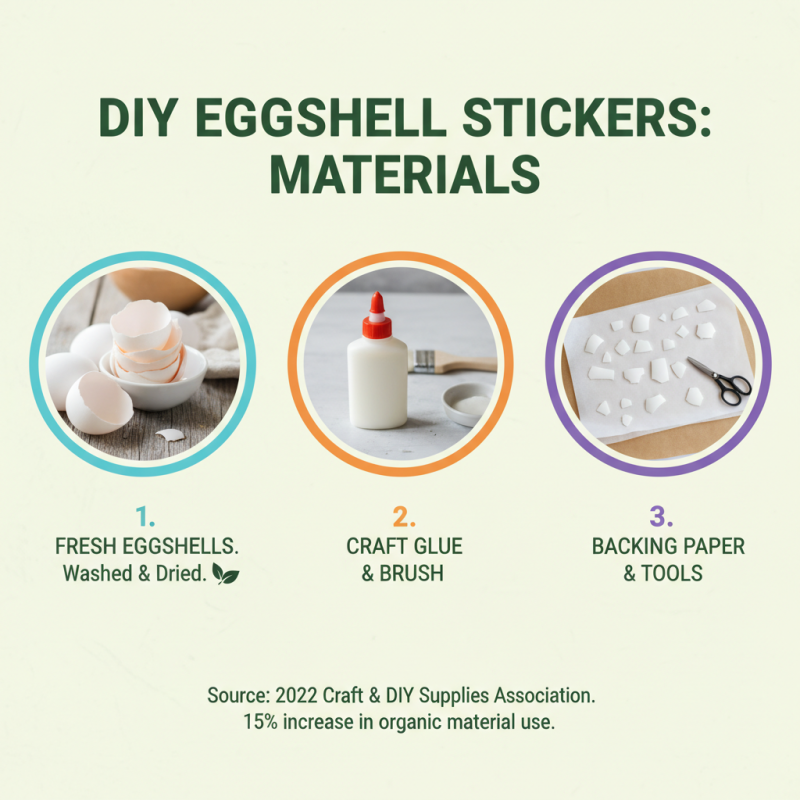
Materials Needed for Making Eggshell Stickers
To create stunning eggshell stickers for your DIY projects, you'll need a specific set of materials that ensures both creativity and functionality. First, prepare some eggshells. It's important to collect eggshells from fresh eggs; they should be washed and dried thoroughly to remove any residual membranes. According to a 2022 industry report from the Craft and DIY Supplies Association, organic materials like eggshells have seen a 15% increase in popularity among DIY enthusiasts, largely due to their sustainable and environmentally friendly nature.
Next, gather adhesives such as mod podge or clear-drying glue, which are essential for securely attaching the eggshell pieces to your chosen surfaces. Additionally, you will need scissors to carefully cut the eggshells into desired shapes and sizes. Another useful material is parchment paper, which can help in the transfer process and protect your working surface. A 2021 survey by Decor Trends noted that over 30% of crafters prefer using natural elements like eggshells in their projects, citing aesthetics and texture as key attractive features. Finally, having a sealing spray or varnish at hand will help to enhance your stickers’ durability, making them suitable for various applications, from home décor to custom greeting cards.
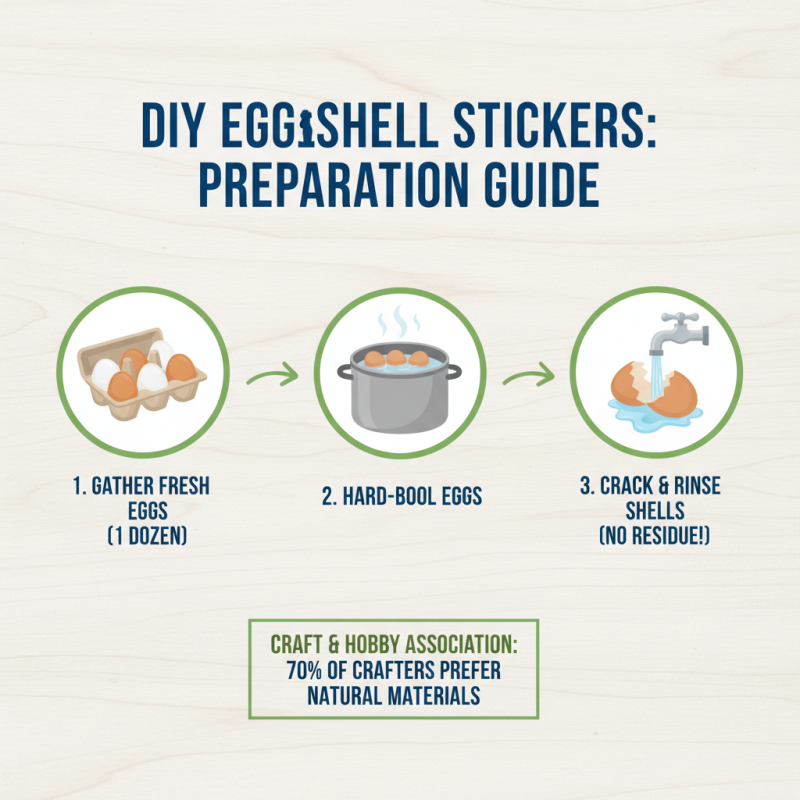
Step-by-Step Guide to Preparing Eggshells for Crafting
Creating stunning eggshell stickers for your DIY projects starts with the right preparation. First, you'll need to gather your materials. Fresh eggs are ideal; choose a dozen or so to ensure you have plenty of shells for crafting. Once you've collected your eggs, begin by hard-boiling them to avoid any mess later on. According to a survey conducted by the Craft and Hobby Association, nearly 70% of DIY crafters prefer using natural materials in their projects, highlighting the appeal of eggshells. After boiling, carefully crack the shells and rinse them to remove any residual egg white. This step is crucial, as any remaining organic residue can lead to discoloration or spoilage of your stickers.
Next, it's time to prepare your eggshells for decoration. Allow them to dry completely on a clean towel. Once dried, you can gently flatten the shells using a rolling pin or just your fingers. The thinner the shells, the easier they will be for crafting. Additionally, consider incorporating different colors and patterns by applying food-safe dyes or watercolors once you’ve flattened the shells.
**Tip:** For a smooth application of designs, use a medium like Mod Podge or a similar adhesive. It not only enhances the bond but also adds a protective layer when the stickers are applied to surfaces.
**Tip:** If you want to create a more textured feel, experiment with layering smaller pieces of shells. This approach can add depth to your stickers, making them truly unique for any DIY project.
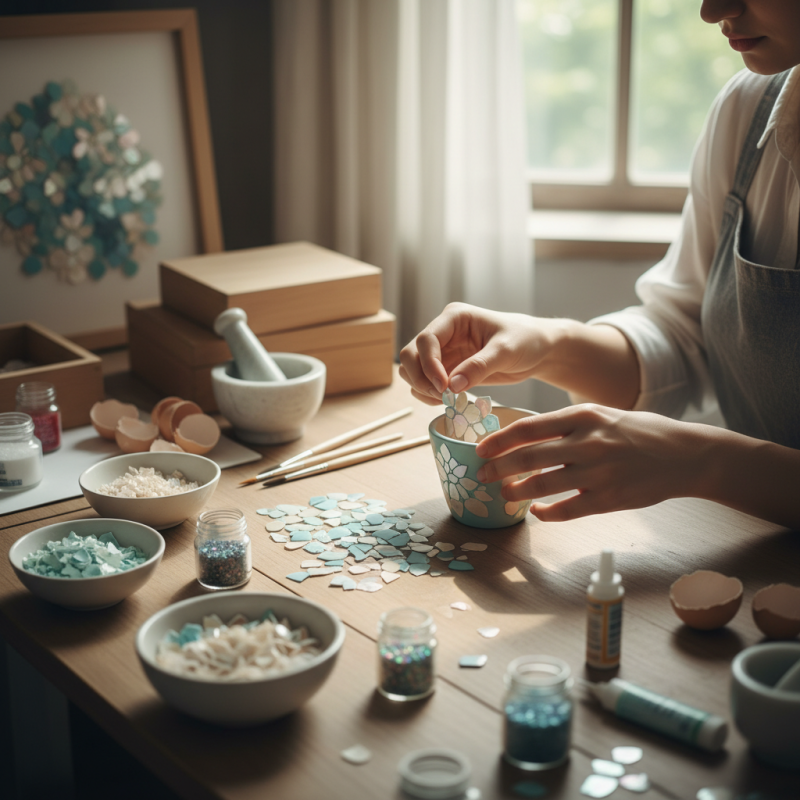
Techniques for Designing Beautiful Eggshell Stickers
When it comes to creating stunning eggshell stickers for your DIY projects, the design techniques you choose can make all the difference. One of the most effective methods is to utilize vibrant colors and patterns. By selecting bright, contrasting hues for your designs, you can make the delicate textures of the eggshell stand out. Experiment with watercolors or acrylic paints to create unique backgrounds before applying the eggshell. This will enhance the visual appeal of your stickers and ensure they capture attention.
Another critical technique involves the application process. Carefully cracking the eggshell into smaller pieces can give you a more organic and natural look. To attach the eggshell pieces, use a decoupage medium, which will not only secure them but also provide a glossy finish. Make sure to apply the decoupage lightly to avoid bubbles and uneven surfaces. Once everything is in place, a final layer of clear sealant will help protect your artwork and preserve its beauty.
**Tips:** When designing your eggshell stickers, always test your color choices on scrap pieces before committing to your final design. This will help you make adjustments as needed. Additionally, consider layering various sizes of eggshell pieces to create depth in your designs, enhancing their overall textural quality. Lastly, give yourself plenty of time to experiment; each creation can unveil a new artistic direction.
How to Create Stunning Eggshell Stickers for Your DIY Projects
Applying Eggshell Stickers to Your DIY Projects
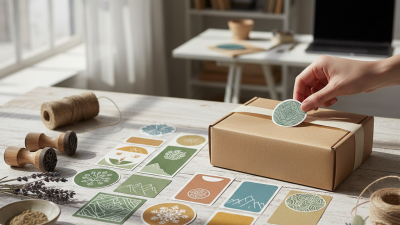
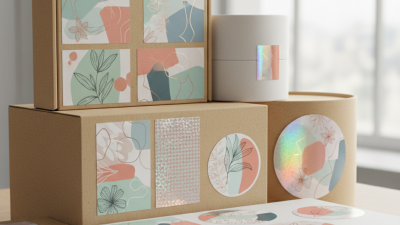
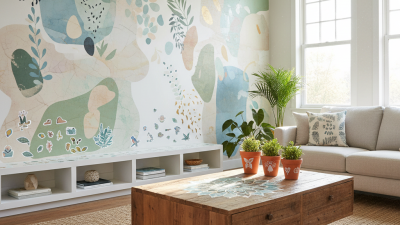
Applying eggshell stickers to your DIY projects can transform ordinary items into unique pieces of art. The delicate texture and organic patterns of eggshells provide a striking visual appeal that enhances everything from home décor to personalized gifts. To start, ensure your surface is clean and free of dust. Whether you're decorating picture frames, vases, or furniture, apply a thin layer of adhesive to the chosen area. Carefully position your eggshell sticker, pressing gently to avoid cracking. This technique not only adds beauty but also introduces a natural element to your crafts.
Once your eggshell stickers are in place, consider sealing them with a coat of clear varnish to protect your work. This final touch not only enhances the sticker's durability but also gives it a polished look. If you're combining different colors or patterns, play around with arrangements beforehand to find the perfect composition. Mixing eggshell stickers with other materials—like fabric or paint—can create a dynamic and visually interesting piece. Let your imagination guide you as you incorporate these delicate stickers into your DIY projects, making each item uniquely yours.
Tips for Sealing and Protecting Your Eggshell Stickers
Sealing and protecting your eggshell stickers is crucial to ensure their longevity and durability, especially if you plan to use them in various DIY projects. To begin with, it’s essential to choose an appropriate sealant that provides a clear finish while safeguarding the delicate surface of the eggshell. A water-based polyurethane or acrylic spray is often recommended because it dries clear and offers a durable barrier against moisture and wear. When applying the sealant, do so in a well-ventilated area and hold the spray can at least 12 inches away from the surface to avoid drips and uneven coatings.
Once the first layer of sealant has been applied, allow it to dry completely before assessing whether additional coats are necessary. Typically, two to three layers of sealant will provide the best protection without obscuring the beautiful design of your stickers. After the final coat has dried, it’s advisable to handle your eggshell stickers carefully, especially during the initial days as they are more prone to damage. Reinforcing the edges with a light touch of clear glue can also prevent peeling and ensure the longevity of your artful creations. By following these tips for sealing and protecting your eggshell stickers, you can ensure that they remain stunning focal points in your DIY projects for years to come.
How to Create Stunning Eggshell Stickers for Your DIY Projects - Tips for Sealing and Protecting Your Eggshell Stickers
| Step |
Description |
Materials Needed |
Tips for Sealing |
| 1 |
Collect eggshells and clean them. |
Eggshells, water, mild detergent |
Rinse thoroughly to remove all residues. |
| 2 |
Crush the eggshells into small pieces. |
Mortar and pestle or blender |
Ensure pieces are tiny for easy application. |
| 3 |
Create your sticker design. |
Paper, adhesive, markers |
Use waterproof markers for durability. |
| 4 |
Apply the crushed eggshells to the design. |
Glue or mod podge |
Press firmly for best adhesion. |
| 5 |
Seal the sticker with a protective coating. |
Clear sealant spray or varnish |
Spray in a well-ventilated area. |
| 6 |
Cut the sticker to the desired shape. |
Scissors |
Use sharp scissors for clean edges. |